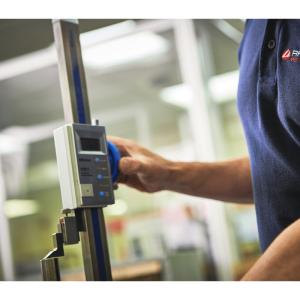
BS EN ISO 13225 / Manufacturer Specification
By regularly calibrating your height gauges at Rhopoint Metrology, we can ensure confidence in the integrity of their measurements and precision manufacturing. We offer ISO 17025 certified calibration onsite or at our laboratories based in Birmingham and Bristol.
Read more on how to care for your height gauge.
Height MasterTo Top | ||||
| UKAS Calibration for Height Gauge Units – Setting Masters | UKAS | Add to Quote | ||
Height GaugeTo Top | ||||
| Traceable Calibration for Height Gauge Units – Touch Signal Probes | Traceable | Add to Quote | ||
| UKAS Calibration for Height Gauge Units – Digital / Electronic (NOT Vernier) – 450 mm (up to 18″) | UKAS | Add to Quote | ||
| UKAS Calibration for Height Gauge Units – Digital / Electronic (NOT Vernier) – 450 – 600 mm (18 – 24″) | UKAS | Add to Quote | ||
| UKAS Calibration for Height Gauge Units – Digital / Electronic (NOT Vernier) – Above 600 mm (Above 24″) | UKAS | Add to Quote | ||
| UKAS Calibration for Tesa Micro-Hite Digital Height Gauge – up to 900 mm (up to 36″) | UKAS | Add to Quote | ||
If you haven’t found the calibration you require or need some further assistance with your requirement, contact us using this form and we can find the solution you are looking for.
To ensure we can promptly address your calibration enquiry, please complete the form with all the necessary details. This will help us to provide you with accurate and timely assistance.
For urgent enquiries, please contact us directly via phone at:
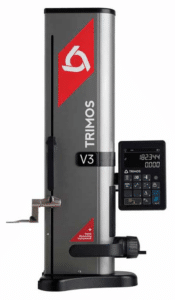
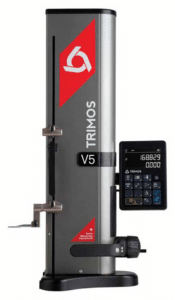
Select the height gauge that best fits your requirement. Ensure that the type, measuring range, graduation and other specifications of the height gauge are appropriate for your application.
Do not apply excessive force to the sliding and locking mechanisms of the height gauge. Should you be unfortunate and drop the height gauge, before reusing have the height gauge recalibration/repaired by an appropriate repair agent.
When using a scriber in conjunction with a height gauge, ensure that the scriber tip is not damaged.
Thoroughly clean the height gauge after use with a lint free paper or cloth ensuring the base and the scriber are cleaned.
Check the slider movement for smoothness, there should be no free play or intermittent restriction of movement. Report all non conformances to an appropriate authority.
Thoroughly clean the surface plate or surface table prior to placing the height gauge upon it, the height gauge and datum surface should be stabilised before use.
Adjust the zero line to the datum surface before use.
Avoid parallax errors by reading the scales directly from the front and square on.
During fine adjustment to a reference standard, ensure that the base remains stable on the measuring media, least this causes damage to either the reference standard or the height gauge.
When storing height gauges for long periods of time, or when they need oiling, use a lint free paper or cloth dampened with a rust preventative oil and lightly wipe each section, ensure that the oil is spread evenly over the surfaces.
Never leave or store the height gauge for long periods of time in a high humidity environment.
Never use a height gauge that has not been calibrated, if in doubt consult an appropriate authority.
This standard covers vernier height gauges which include a scriber for marking heights. Metric height gauges measure heights up to a maximum of 1000mm using a main scale and vernier scale graduated to read to 0.02mm. Imperial height gauges measure heights up to a maximum of 48” using a main scale and vernier scale graduated to read to 0.001”. It may be uneconomical for any company or institution to invest in equipment to the level required in order to calibrate vernier height gauges fully in accordance with the standard.
It is highly recommended that an appropriate authority such as a UKAS approved laboratory carries out a full calibration on vernier height gauges at least once a year. In between UKAS calibrations at a frequency based on usage, vernier height gauges should be calibrated in-house. A typical in-house calibration would include a written procedure and an associated calibration record sheet, which would contain as a minimum, the following listed information:
It is necessary that any person carrying out such calibration work should have received appropriate training and have shown the ability to be confident via a suitable training authority. Training records should be held and maintained.
Below is a layout for a typical in-house calibration for a digital height gauge.
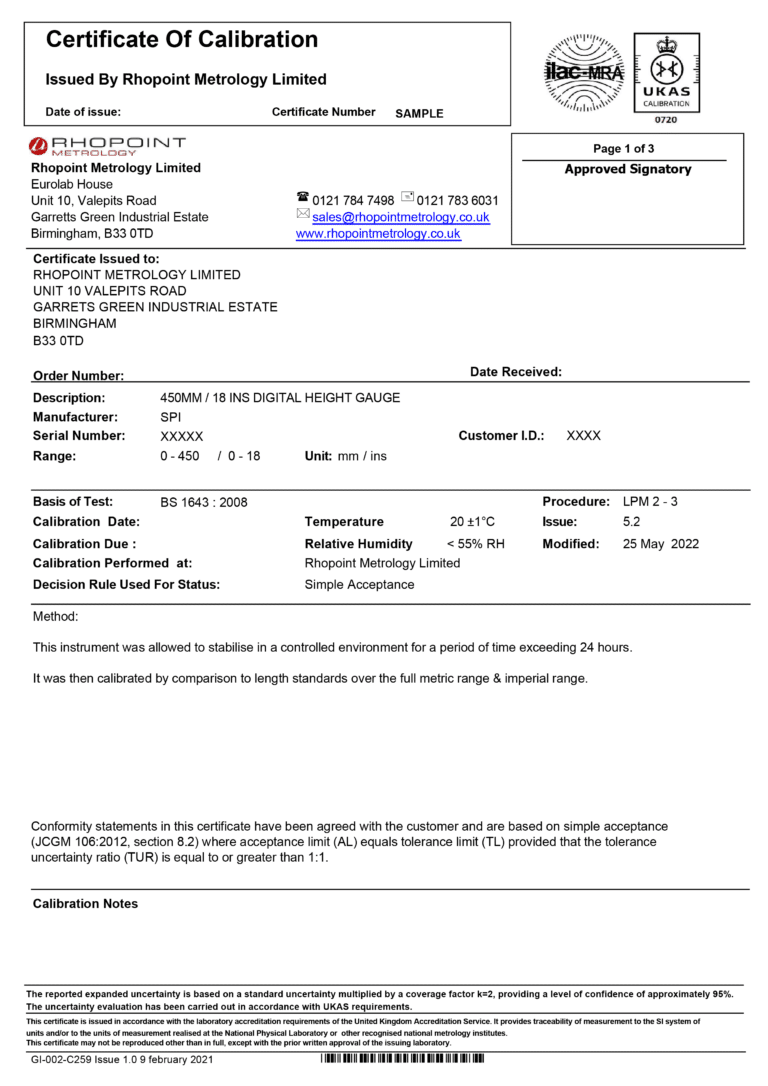
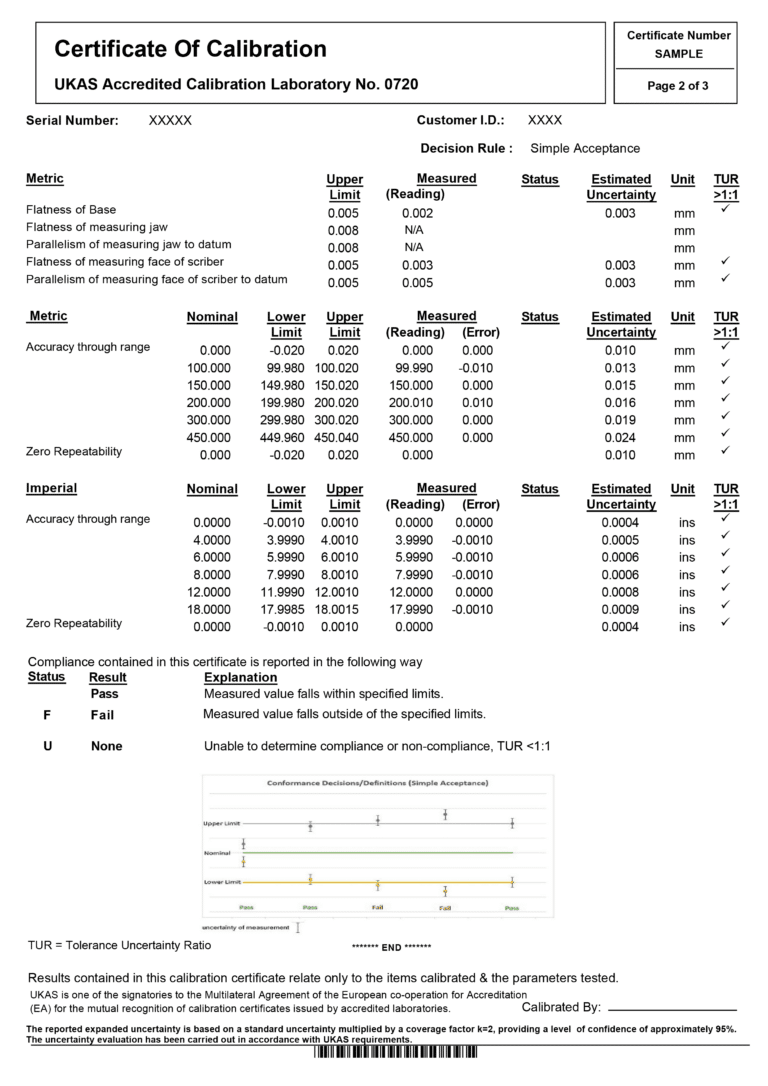
All of our Laboratories are accredited to provide UKAS & Traceable calibrations to all the relevant standards giving you peace of mind.
Make consistent, accurate and reliable measurements
Ensure longevity of the measuring instruments
Ensure safety in critical applications such as medical and aerospace
Rhopoint Metrology Ltd Eurolab House, Unit 10 Valepits Road, Garretts Green Industrial Estate, Birmingham, B33 0TD
Rhopoint Metrology Ltd Brunel House, 28 Old Mills Industrial Estate, Paulton, BS39 7SU