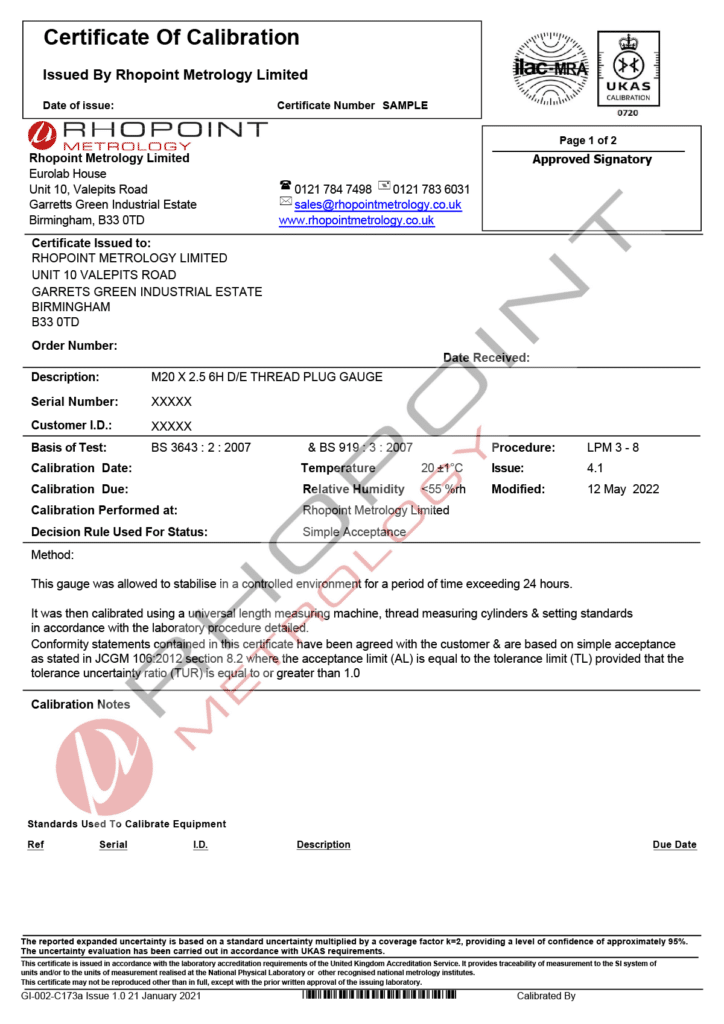
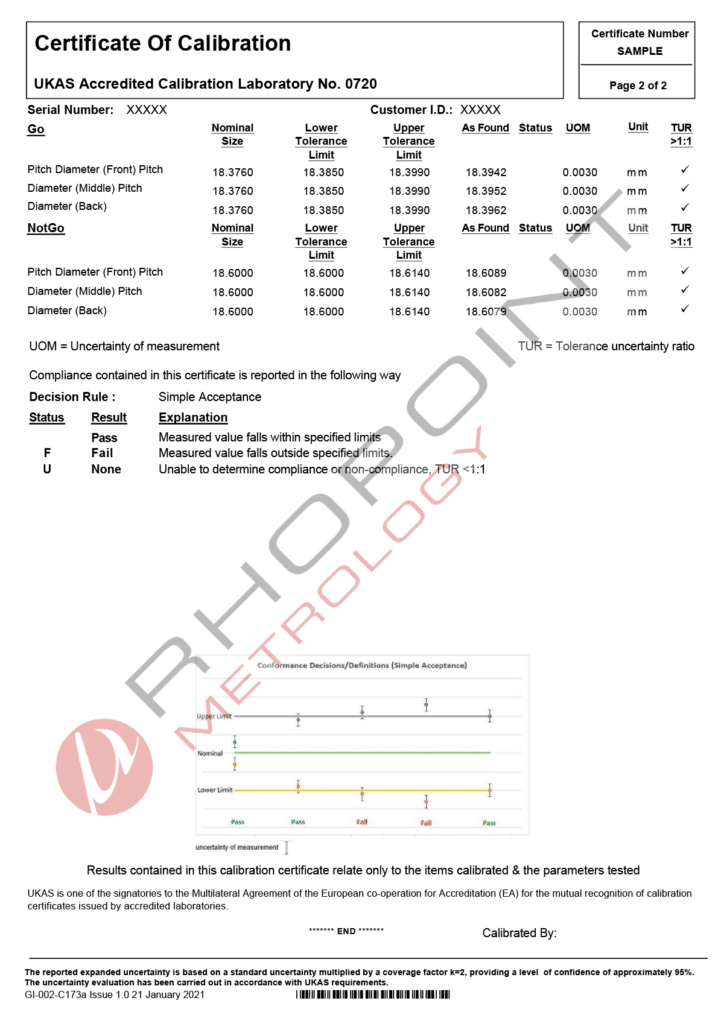
Standards: BS 84:2007, BS 1580:2007, BS 3643:2007, BS 93:2008, BS 4377:1991, BSA: 346:2000, BSA 358-1:2000, ASME B1.5:1997, ANSI B1.8:1977, BS EN ISO 228-1:2003, BS EN 10226-3: 2005, ISO 7-2: 2000, BS 1104: 1957, BS 6293-2: 1994, ISO 5855-2: 1988, BS 5346: 1976, BS 4568-1: 1970, BS 4084: 1978, ISO 3161: 1977, BS 3409-1: 1961, BS 2779: 1986, BS 4568: 1970, BS 1657: 1950, BS 341-1: 1991, BS 21: 1985
Theses standards specify the tolerances and limits for simple forms of thread gauges, such as:
Care and use
1. Always select the thread gauge that best fits the application.
2. Care should be taken while using thread gauges. Should you drop a thread gauge, it should be re-calibrated/repaired before reusing it.
3. Gauges should be protected from damage when not in use. Rhopoint recommend applying a specialist coating to the thread gauge when not in use, (full details on this process is available directly from Rhopoint, contact us for further information).
4. Do not use excessive force when applying the gauge to the component as this may result in either damage to the component or gauge.
5. Never use a thread gauge that has not been calibrated, if in doubt consult an appropriate authority.
It is highly recommended that an appropriate authority such as a UKAS approved laboratory carries out a full calibration on thread gauges at least once a year. In between UKAS calibrations at a frequency based on usage, thread gauges should be calibrated in-house. A typical in-house calibration would include a written procedure and an associated calibration record sheet, which would contain as a minimum, the following listed information:
Thread gauges
(a) Serial number
(b) Location
(c) Procedure number
(d) Rate and compression correction
(e) Gauge tolerance
(f) Results
(g) Measurement uncertainty
(h) Sentence if appropriate
(i) Date and calibrators signature
(j) Traceability to National Standards
It is necessary that any person carrying out such calibration work should have received appropriate training and have shown the ability to be confident via a suitable training authority. Training records should be held and maintained.


Rhopoint Metrology Ltd Eurolab House, Unit 10 Valepits Road, Garretts Green Industrial Estate, Birmingham, B33 0TD
Rhopoint Metrology Ltd Brunel House, 28 Old Mills Industrial Estate, Paulton, BS39 7SU